Confession: I’ve always struggled with written assignment sheets.
I know they’re important for home practice and I appreciate having a written record of specific practicing assignments for each student to work from each week.
But what about when a student forgets their books? Or doesn’t take their assignment notebook out of their bag all week?
I’ve struggled with how much time it takes to write an assignment sheet in the lesson: how much time I’m spending looking down at the notebook and not at my student’s hands or the music as they’re playing. Is it taking away from my ability to listen critically or be fully present?
I’ve tried typing out an assignment sheet in advance of the lesson, but what if the student isn’t ready to go on to the next practicing step or if they surpassed all my expectations and need two or more new pieces?
Back to handwriting.
At the beginning of the COVID-19 pandemic, when I switched my students to online lessons, I knew I needed an alternative to written assignment sheets. I tried typing and sharing notes in the Notes app for a few weeks, but there wasn’t a great way to add music notation, arrows, or other figures.
Then I bought an iPad and Apple Pencil and everything changed.
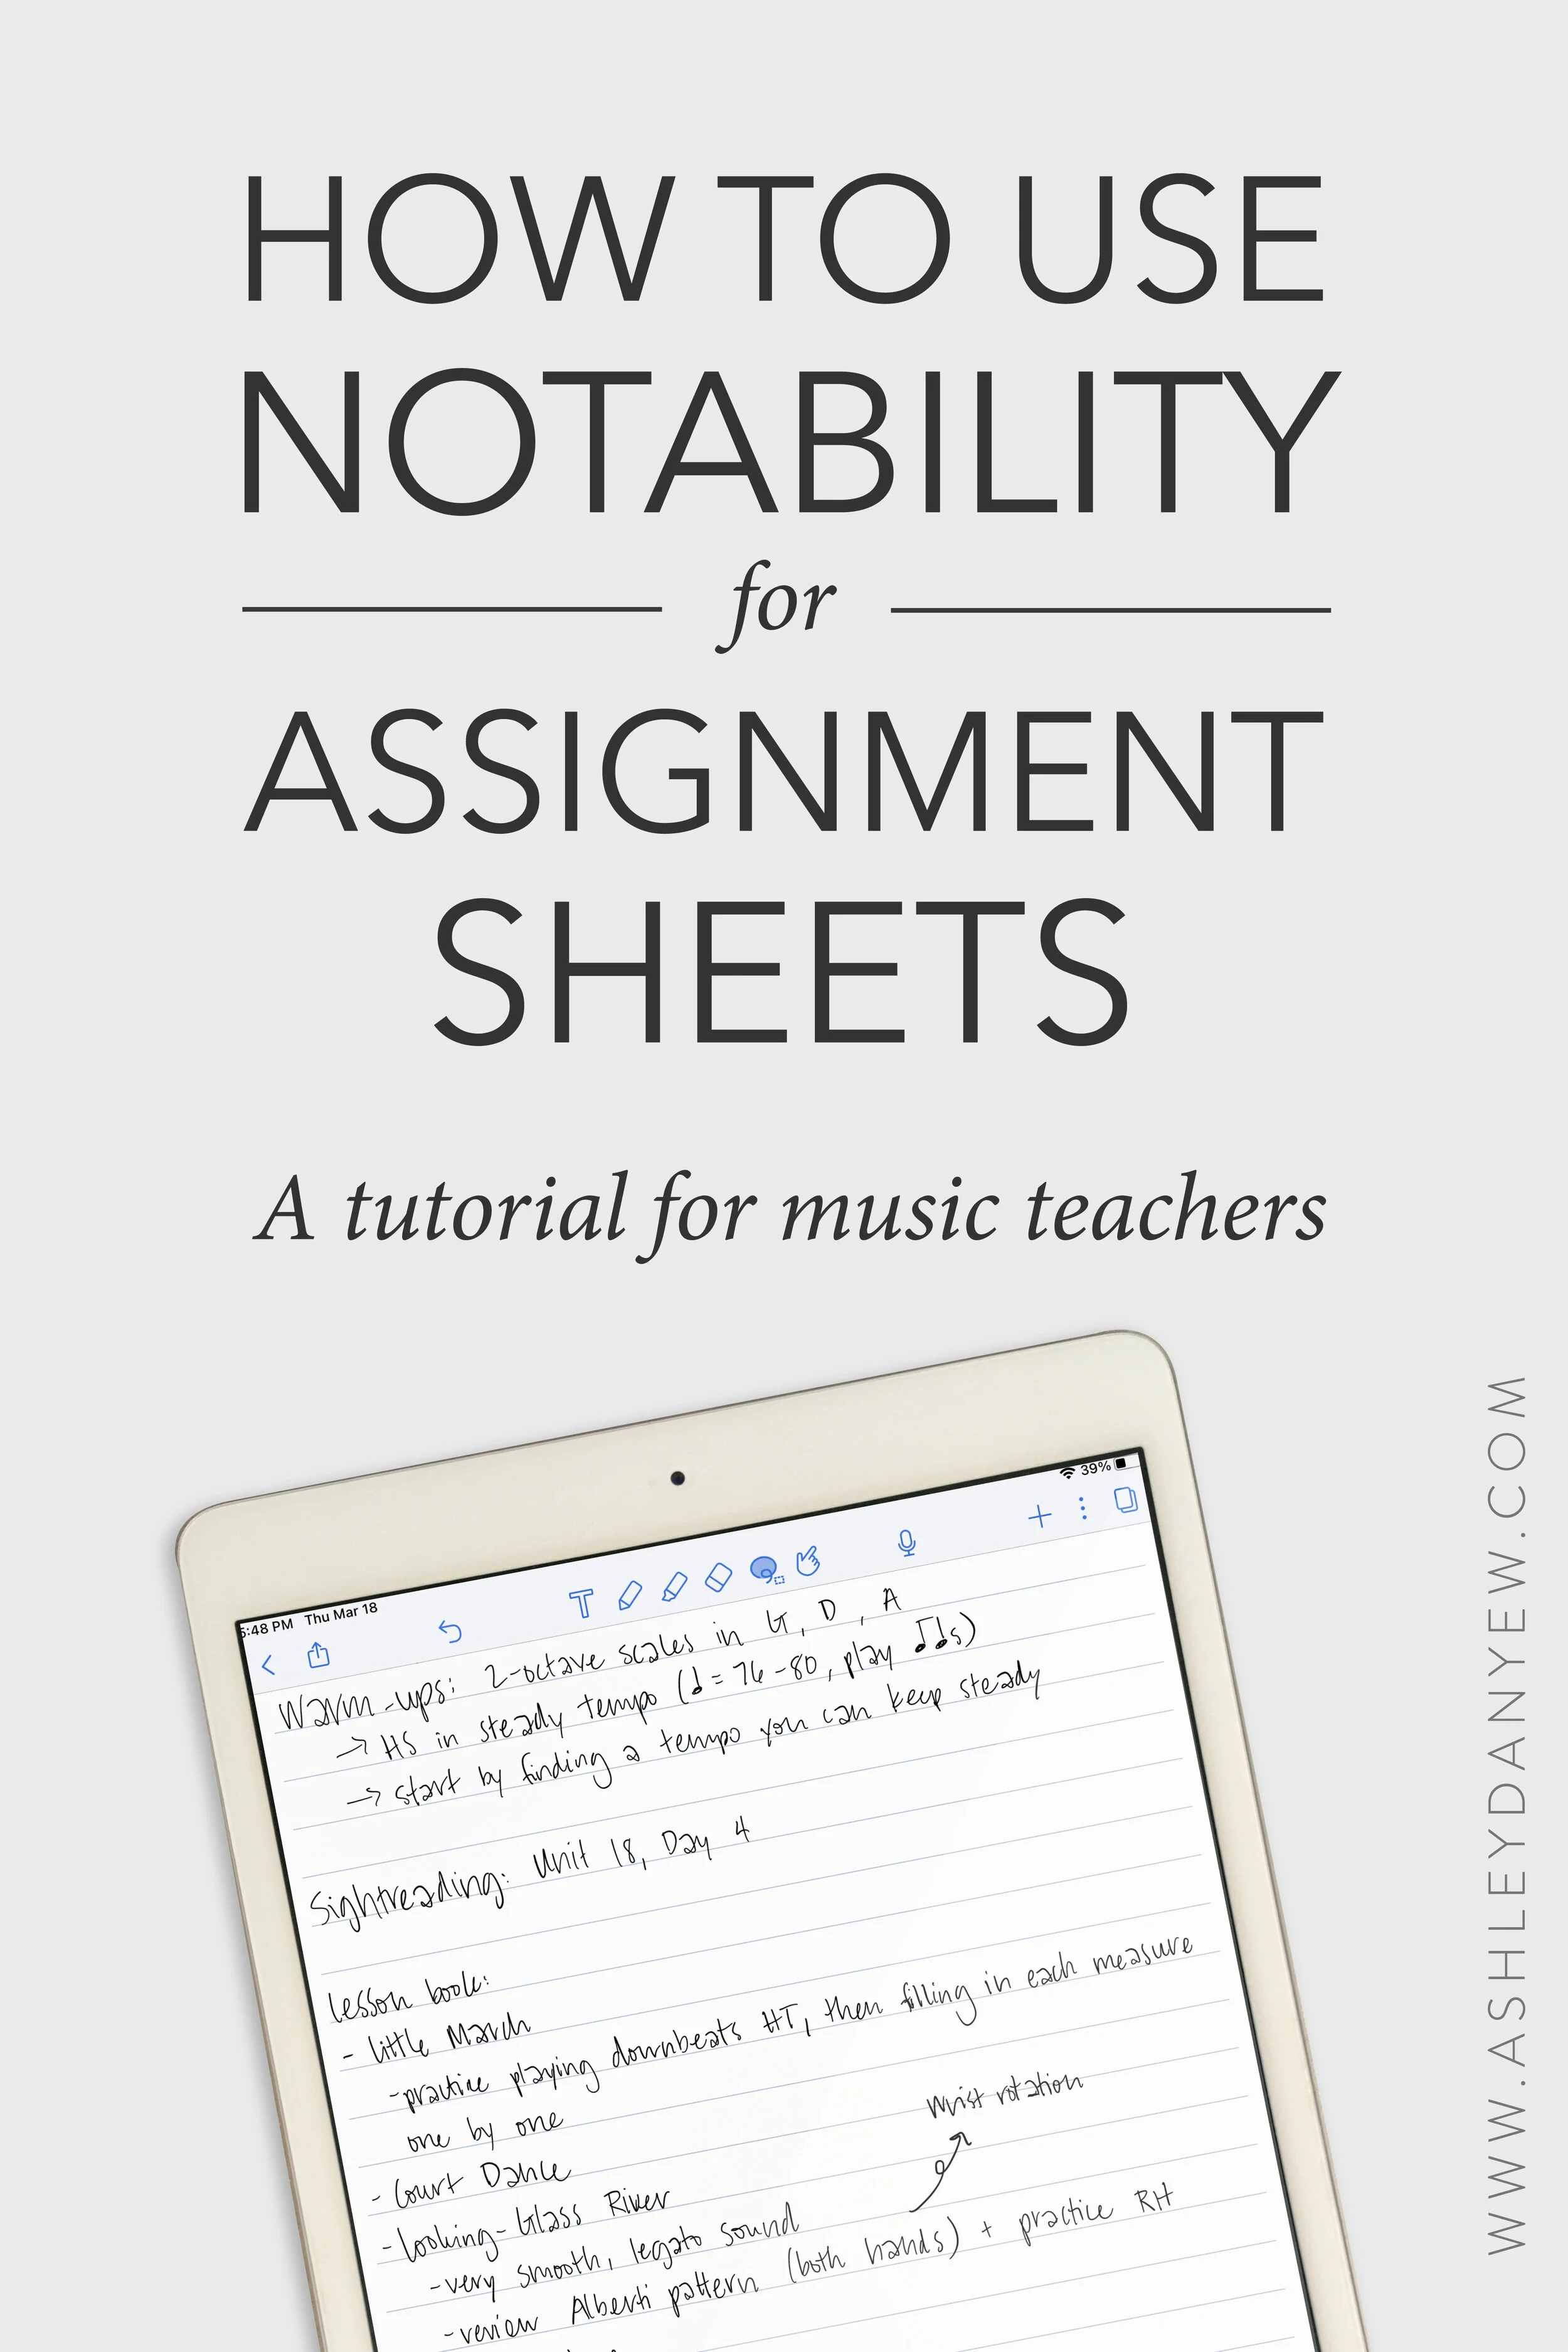
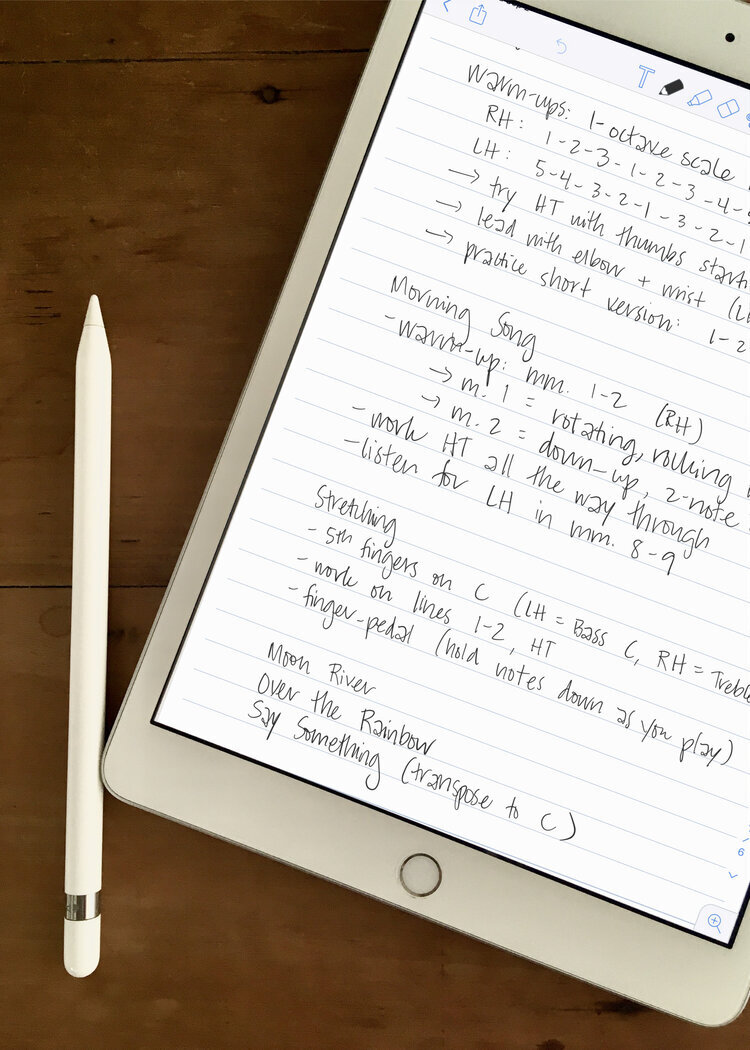
Now, with an app called Notability, I can handwrite digital assignment sheets for my students in less time (see my shortcuts below), share a PDF copy with parents and older students via email or text, and keep a copy for myself to reference in the future.
Looking for an alternative to handwritten assignment sheets in your studio? Here’s an easy 5-step guide to using Notability.
*Disclosure: I get commissions for purchases made through links in this post.
Step 1: Get the app
Download the Notability app from the App Store.
Step 2: Create a Subject
A subject is an overarching category for a series of notes. Think of it as a virtual notebook. To create a new subject, tap the plus sign in the top toolbar and choose a name like "Studio."
Step 3: Create a Note
Create a note for each student.
Look for the pencil and paper icon in the top-right corner. The default note title is the date. To change this, tap the title once, then type in something new (I use my student's first names).
Tap the three dots in the top-right corner to set your paper background and type (blank, lined, or grid). I like the white background with line-spacing (2nd from the left).
Step 4: Start Writing
If you want to write with an Apple Pencil, tap the pencil in the top toolbar. Tap the pencil tool again to see the settings: choose pressure-sensitive or not, adjust the size and weight, and choose a color. I like the pressure-sensitive setting as I feel this makes my handwriting look the most realistic.
The first week I sent a digital assignment to a student, he said, “It looks like you hand-wrote this!” Best compliment ever.
If you want to type, tap the text tool (first in the top toolbar). There are a variety of font options built-in and you can edit the size, character weight, and color, as well.
When writing assignment sheets for my students, I use the following outline:
Date
Warm-ups
Sight-reading
Repertoire
Theory
Creative assignment, if applicable
If you need to erase something you've written, you can always tap "undo" or you can use the eraser tool in the top toolbar to erase strokes (unfortunately, you can’t erase just part of a letter).
Step 5: Share Your Note
To send your note to a parent or student, tap the share button in the top toolbar. Notability has built-in features that allow you to share your notes via email, Dropbox, Google Drive, OneDrive, Box, iTunes, WebDAV, or other Apps (text messages!). You can also send your note to print.
For most of my students, I send assignment sheets via email. Once you select a tool from the list, you'll have the option to select individual pages from the file (I usually just send the most recent one). Then, you can enter recipient info, edit the subject line, and write a short message, if desired.
What else can Notability do?
Insert media
Tap the plus sign in the top toolbar to add Media — photo, camera, document scan, GIF, web clip, or stickies.
Convert handwriting to text
Isn’t this cool? If you find it faster to handwrite than type on your iPad but you want the finished notes to be typed, use this handy tool to convert your handwriting to text. To do this, select a section of text, then tap "convert to text." Adjust font, size, character weight, and color, as desired. Notability recognizes several languages!
Audio recording
Did you know? You can record an audio snippet that’s actually embedded in your assignment sheet. If a student reviews their assignment sheet on a phone or tablet during the week, this can be a helpful practicing aid. To do this, tap the microphone icon to start and stop an audio recording. To play it back, simply tap the text you were writing when you pressed “record.”
Auto-backup
Worried about losing your data? Set an auto-backup of all your notes to Dropbox, Google Drive, OneDrive, Box, or WebDAV. You can also sync with iCloud. You can find this in Settings.
Here are a few helpful shortcuts:
I’ve been using Notability for all my written assignment sheets for almost a year now. Here are a few tips and tricks I’ve learned:
Highlight headings
Use the highlighter tool (third in the top toolbar) to help headings like Warm-Ups and Sight-Reading stand out. Tap the highlighter again for customization options. Note the highlighter goes on top of the text, which may make the text appear slightly lighter.
*Tip: To create a straight line when highlighting, drag your finger or use the Apple Pencil to draw a line, then hold for a second at the end and the line will automatically straighten. (Make sure you have this feature turned on in Settings.)
Duplicate last week’s assignment sheet
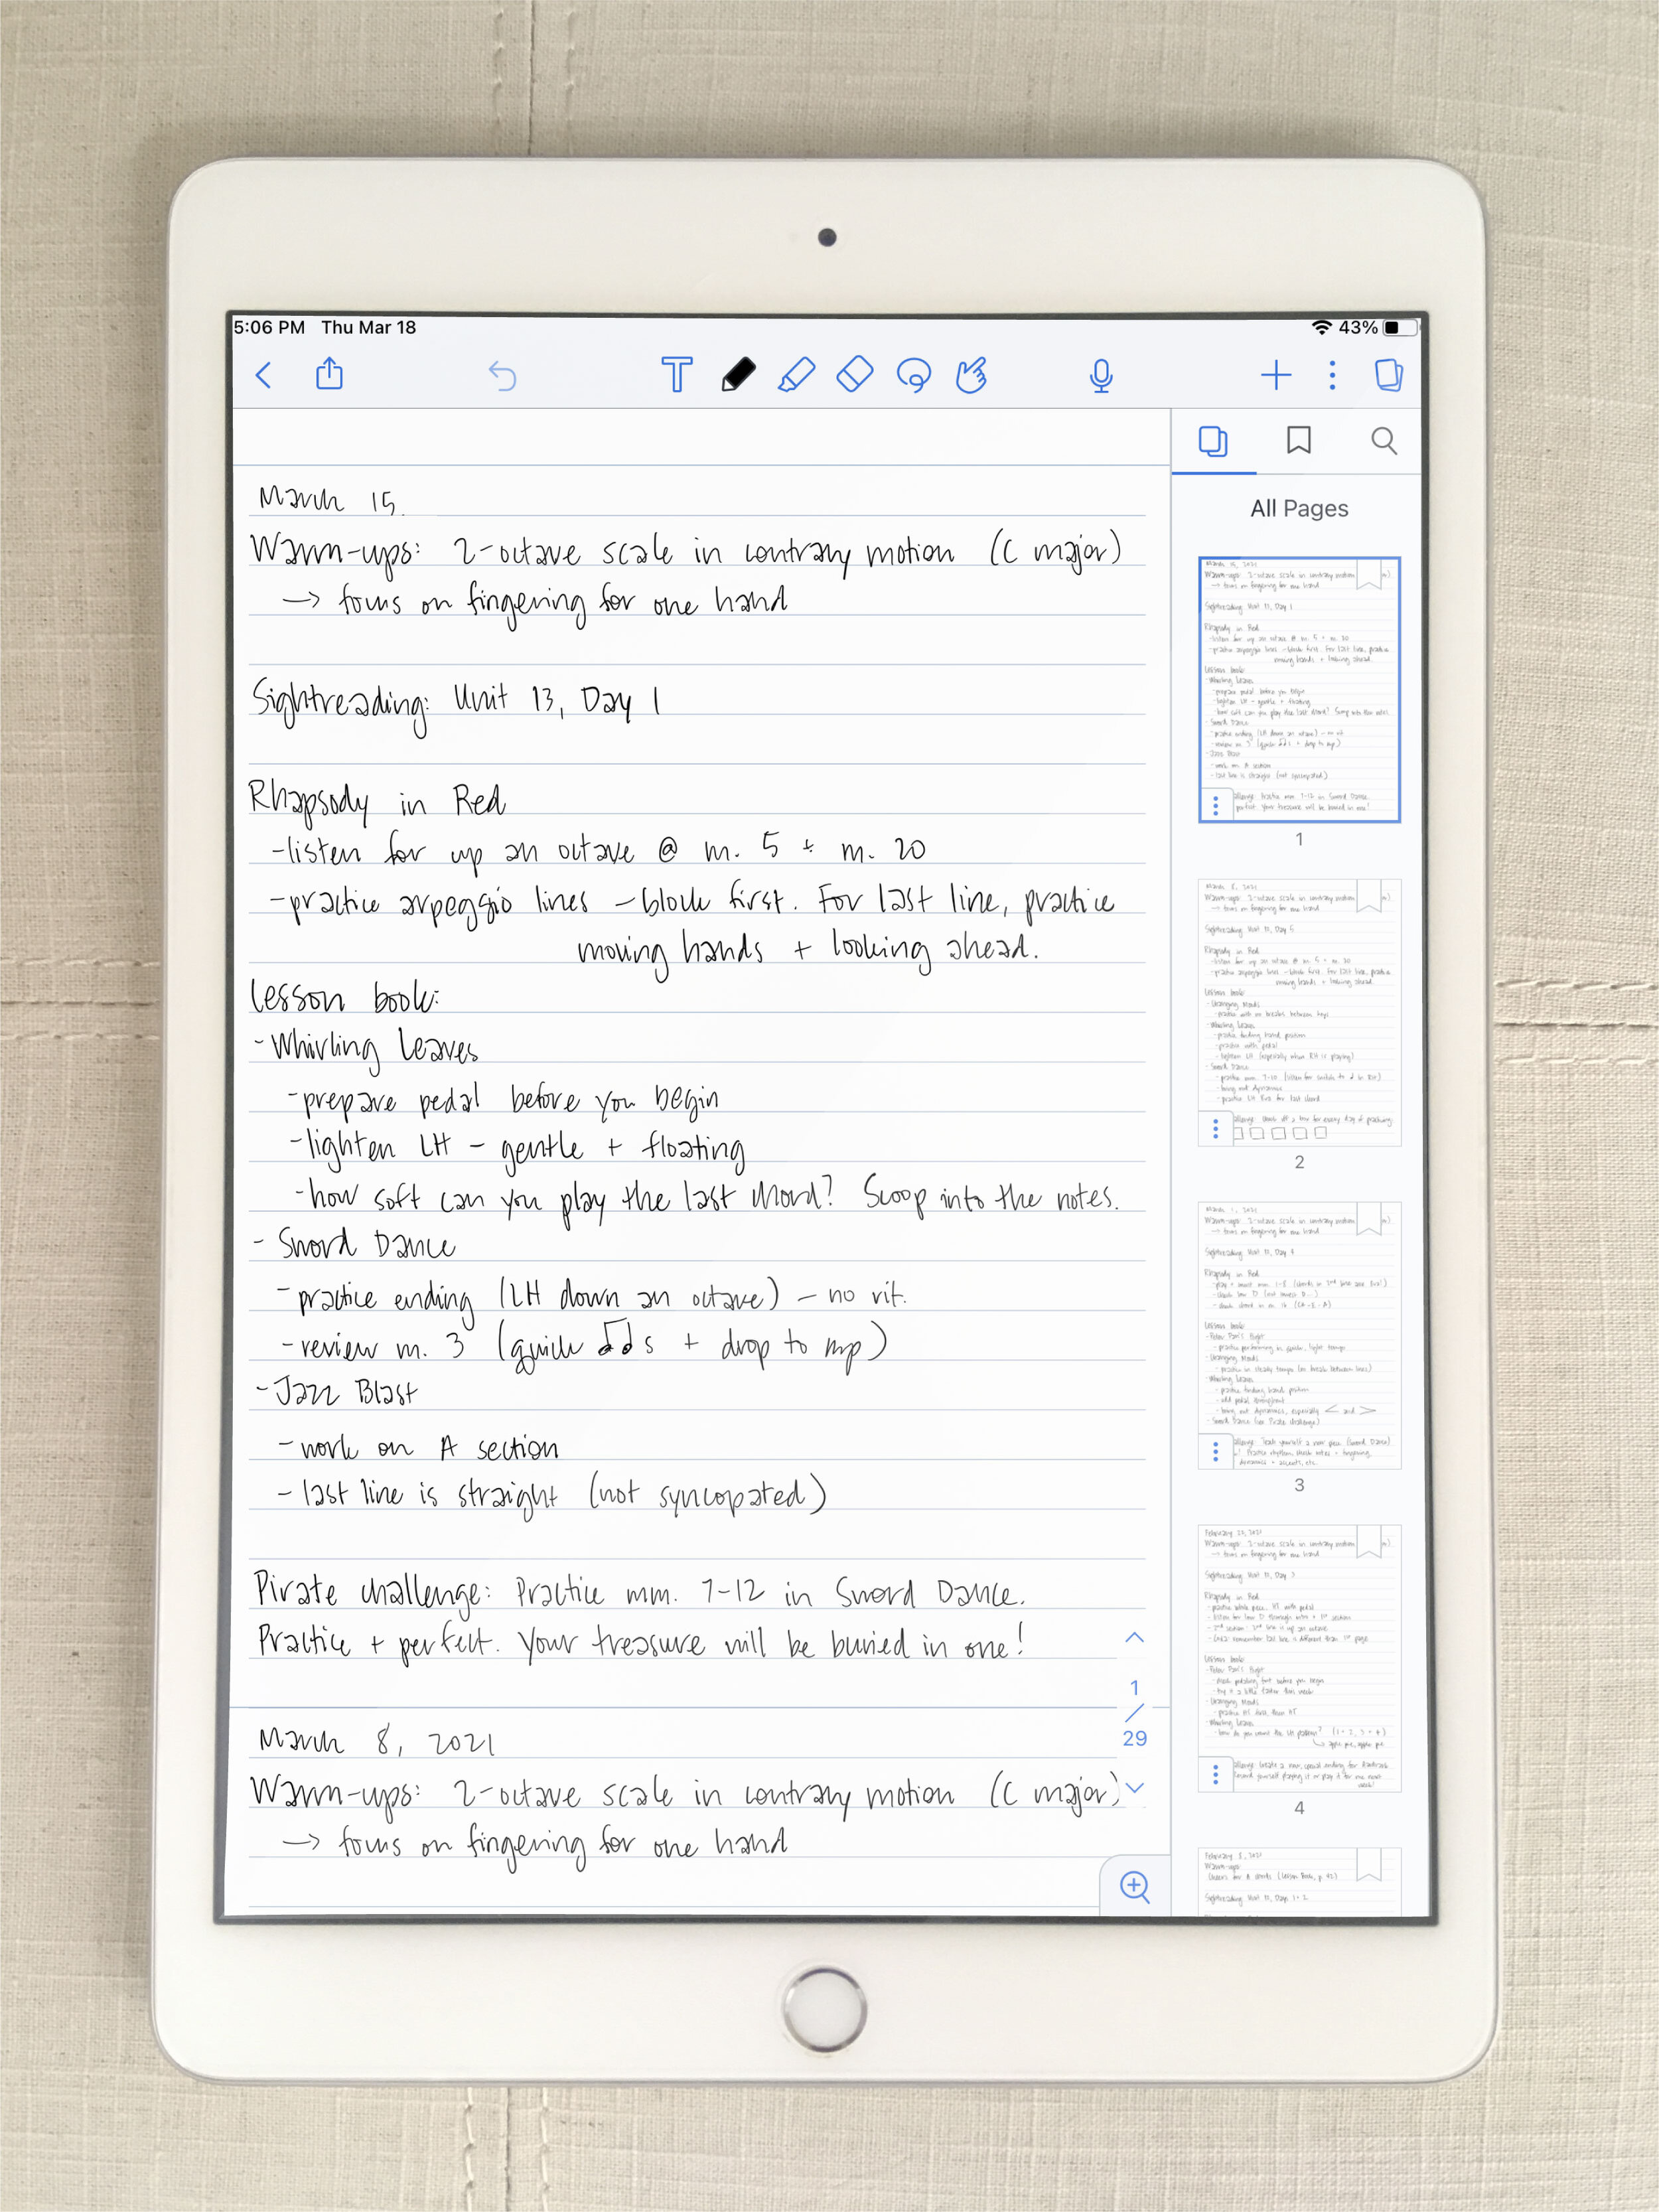
Duplicate last week's assignment sheet so you're not starting from scratch. This helps you see notes from last week's lesson and carry over anything that may still be applicable this week. Plus, it saves you time writing out category names and repertoire titles.
To do this, tap the page thumbnail in the right sidebar and click "copy." Tap the page again and click "paste." The duplicated page will appear at the top as page 1. *Note: If the page thumbnails don't appear, Tap the pages button in the upper-right corner, next to the wrench icon.
Copy/paste text from one page to another
On the weeks when I don't hear every piece a student has assigned, it's helpful to copy/paste the notes I wrote last week so the student can continue working on those things for next week.
To do this, tap the lasso tool in the top toolbar. Drag a box around the text you want to copy with your Apple Pencil or with your finger. Tap "copy." Scroll back up to the page you're working on and tap a place on the page where you want the copied text to go. Tap "paste."
While the text is still inside the bounding box, you can edit the weight and color by tapping the pencil tool. You can also drag it around the page and place it where you want it. Resize the text (or figure if you're copying a drawing) by dragging the corners of the box or pinching it with your fingers.
Use split-screen
Notability supports split-screen, which means you can write an assignment sheet while looking at something else in a different app (e.g. the digital score in forScore or Adobe Acrobat). This is very helpful for writing down specific measure numbers as you listen or discuss a piece (instead of having to flip back and forth between two windows). You can also display two Notability notes side by side.
Set defaults
Tap the gear icon in the bottom-left corner on the main screen to access Settings. Here you can set a default paper type, font, font size, color, etc. You can also turn on things like spellcheck, palm rejection, automatic line-straightening, and more.
I’d love to hear from you.
Do you write weekly assignment sheets for your students? What tools do you use?

